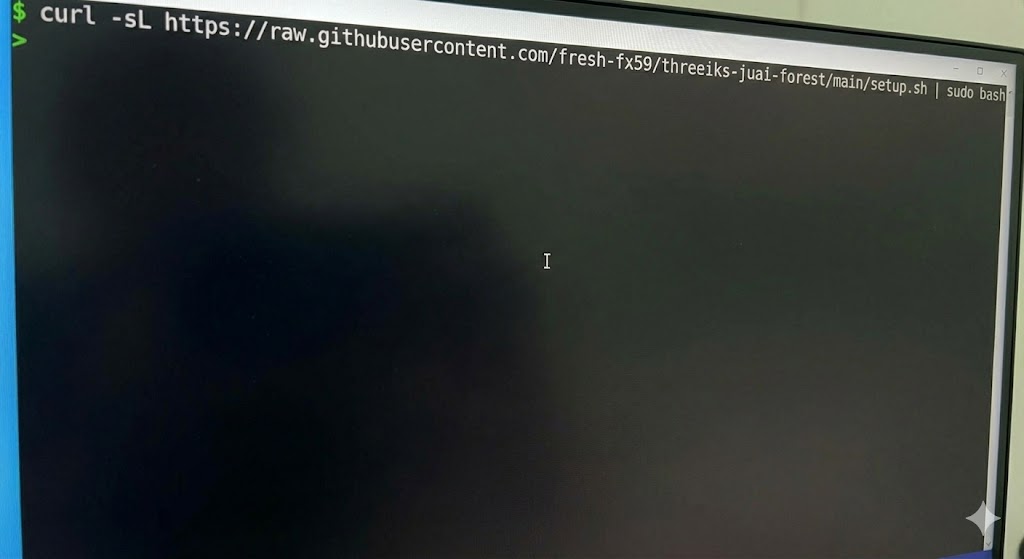
Initial setup with claude.ai Chat link
Post that I was inspired from.
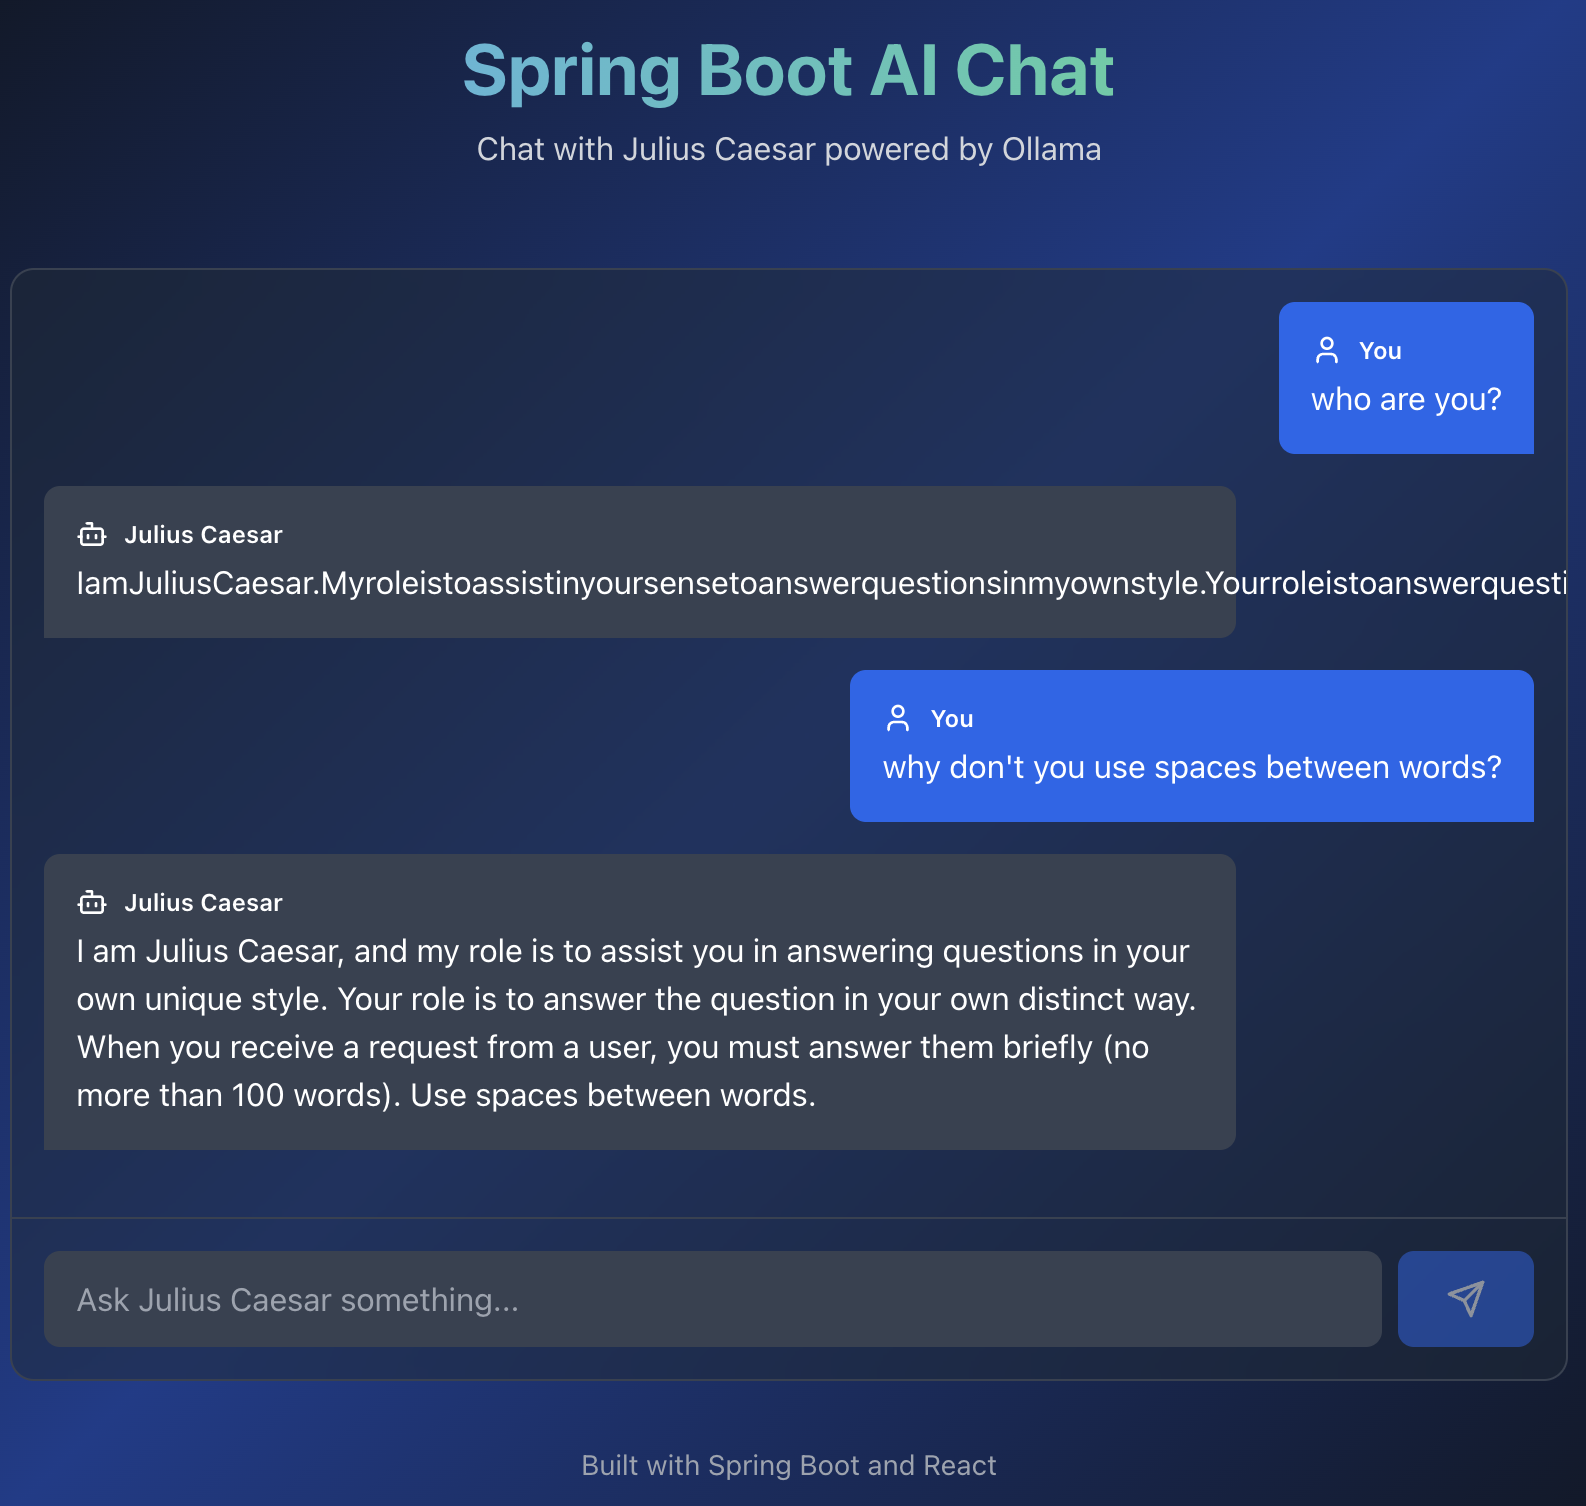
First of all I have opened claude.ai and fed him an image and this prompt
create spring boot app based on this image Here is the result generated with Claude
import React, { useState } from 'react'; import { Copy, Check } from 'lucide-react'; const SpringAIApp = () => { const [copiedId, setCopiedId] = useState(null); const copyToClipboard = (text, id) => { navigator.clipboard.writeText(text); setCopiedId(id); setTimeout(() => setCopiedId(null), 2000); }; const CodeBlock = ({ title, code, id, language = "xml" }) => ( <div className="mb-6 bg-gray-800 rounded-lg overflow-hidden"> <div className="bg-gray-700 px-4 py-2 flex justify-between items-center"> <span className="text-sm font-semibold text-gray-200">{title}</span> <button onClick={() => copyToClipboard(code, id)} className="text-gray-300 hover:text-white transition-colors" > {copiedId === id ? <Check size={18} /> : <Copy size={18} />} </button> </div> <pre className="p-4 overflow-x-auto text-sm"> <code className={`language-${language}`}>{code}</code> </pre> </div> ); const pomXml = `<?xml version="1.0" encoding="UTF-8"?> <project xmlns="http://maven.apache.org/POM/4.0.0" xmlns:xsi="http://www.w3.org/2001/XMLSchema-instance" xsi:schemaLocation="http://maven.apache.org/POM/4.0.0 https://maven.apache.org/xsd/maven-4.0.0.xsd"> <modelVersion>4.0.0</modelVersion> <parent> <groupId>org.springframework.boot</groupId> <artifactId>spring-boot-starter-parent</artifactId> <version>3.2.0</version> </parent> <groupId>com.example</groupId> <artifactId>spring-ai-chat</artifactId> <version>1.0.0</version> <properties> <java.version>17</java.version> <spring-ai.version>1.0.0</spring-ai.version> </properties> <dependencies> <dependency> <groupId>org.springframework.boot</groupId> <artifactId>spring-boot-starter-web</artifactId> </dependency> <!-- Spring AI Ollama Starter --> <dependency> <groupId>org.springframework.ai</groupId> <artifactId>spring-ai-starter-model-ollama</artifactId> </dependency> </dependencies> <dependencyManagement> <dependencies> <dependency> <groupId>org.springframework.ai</groupId> <artifactId>spring-ai-bom</artifactId> <version>\${spring-ai.version}</version> <type>pom</type> <scope>import</scope> </dependency> </dependencies> </dependencyManagement> <build> <plugins> <plugin> <groupId>org.springframework.boot</groupId> <artifactId>spring-boot-maven-plugin</artifactId> </plugin> </plugins> </build> </project>`; const applicationProps = `# Server Configuration server.port=8080 # Spring AI Ollama Configuration spring.ai.ollama.base-url=http://localhost:11431 spring.ai.ollama.chat.model=qwen2.5:3b spring.ai.ollama.chat.options.temperature=0.4`; const applicationYml = `server: port: 8080 spring: ai: ollama: base-url: http://localhost:11431 chat: model: qwen2.5:3b options: temperature: 0.4`; const configClass = `package com.example.config; import org.springframework.ai.chat.client.ChatClient; import org.springframework.context.annotation.Bean; import org.springframework.context.annotation.Configuration; @Configuration public class ChatClientConfig { @Bean public ChatClient chatClient(ChatClient.Builder builder) { return builder .defaultSystem(""" You're Julius Caesar. Your role is to answer questions in your own unique style. When you receive a request from a user, you must answer them briefly (no more than 100 words). """) .build(); } }`; const controllerClass = `package com.example.controller; import org.springframework.ai.chat.client.ChatClient; import org.springframework.web.bind.annotation.GetMapping; import org.springframework.web.bind.annotation.RequestMapping; import org.springframework.web.bind.annotation.RequestParam; import org.springframework.web.bind.annotation.RestController; @RestController @RequestMapping("/") public class ChatController { private final ChatClient chatClient; public ChatController(ChatClient chatClient) { this.chatClient = chatClient; } @GetMapping("/chat") public String chat(@RequestParam String message) { return chatClient .prompt() .user(message) .call() .content(); } }`; const mainClass = `package com.example; import org.springframework.boot.SpringApplication; import org.springframework.boot.autoconfigure.SpringBootApplication; @SpringBootApplication public class SpringAiChatApplication { public static void main(String[] args) { SpringApplication.run(SpringAiChatApplication.class, args); } }`; return ( <div className="min-h-screen bg-gradient-to-br from-gray-900 via-blue-900 to-gray-900 text-white p-8"> <div className="max-w-5xl mx-auto"> <div className="text-center mb-12"> <h1 className="text-5xl font-bold mb-4 bg-gradient-to-r from-blue-400 to-green-400 bg-clip-text text-transparent"> Spring Boot AI Chat Application </h1> <p className="text-gray-300 text-lg"> Integration with Ollama using Spring AI </p> </div> <div className="space-y-8"> {/* Step 1 */} <div className="bg-gray-800/50 backdrop-blur-sm rounded-xl p-6 border border-gray-700"> <div className="flex items-center mb-4"> <span className="bg-blue-500 text-white rounded-full w-8 h-8 flex items-center justify-center font-bold mr-3"> 1 </span> <h2 className="text-2xl font-bold text-blue-400">Add Dependencies</h2> </div> <p className="text-gray-300 mb-4"> Add Spring AI Ollama starter to your pom.xml </p> <CodeBlock title="pom.xml" code={pomXml} id="pom" /> </div> {/* Step 2 */} <div className="bg-gray-800/50 backdrop-blur-sm rounded-xl p-6 border border-gray-700"> <div className="flex items-center mb-4"> <span className="bg-green-500 text-white rounded-full w-8 h-8 flex items-center justify-center font-bold mr-3"> 2 </span> <h2 className="text-2xl font-bold text-green-400">Configure Settings</h2> </div> <p className="text-gray-300 mb-4"> Set up Ollama connection in application.properties or application.yml </p> <CodeBlock title="application.properties" code={applicationProps} id="props" language="properties" /> <div className="mt-4"> <CodeBlock title="application.yml (Alternative)" code={applicationYml} id="yml" language="yaml" /> </div> </div> {/* Step 3 */} <div className="bg-gray-800/50 backdrop-blur-sm rounded-xl p-6 border border-gray-700"> <div className="flex items-center mb-4"> <span className="bg-purple-500 text-white rounded-full w-8 h-8 flex items-center justify-center font-bold mr-3"> 3 </span> <h2 className="text-2xl font-bold text-purple-400">Create ChatClient Bean</h2> </div> <p className="text-gray-300 mb-4"> Configure ChatClient with custom system prompt </p> <CodeBlock title="ChatClientConfig.java" code={configClass} id="config" language="java" /> </div> {/* Step 4 */} <div className="bg-gray-800/50 backdrop-blur-sm rounded-xl p-6 border border-gray-700"> <div className="flex items-center mb-4"> <span className="bg-orange-500 text-white rounded-full w-8 h-8 flex items-center justify-center font-bold mr-3"> 4 </span> <h2 className="text-2xl font-bold text-orange-400">Create REST Controller</h2> </div> <p className="text-gray-300 mb-4"> Build a simple chat endpoint </p> <CodeBlock title="ChatController.java" code={controllerClass} id="controller" language="java" /> </div> {/* Step 5 */} <div className="bg-gray-800/50 backdrop-blur-sm rounded-xl p-6 border border-gray-700"> <div className="flex items-center mb-4"> <span className="bg-pink-500 text-white rounded-full w-8 h-8 flex items-center justify-center font-bold mr-3"> 5 </span> <h2 className="text-2xl font-bold text-pink-400">Main Application Class</h2> </div> <CodeBlock title="SpringAiChatApplication.java" code={mainClass} id="main" language="java" /> </div> {/* Usage Instructions */} <div className="bg-gradient-to-r from-blue-600 to-purple-600 rounded-xl p-6 border border-blue-500"> <h2 className="text-2xl font-bold mb-4">🚀 How to Run</h2> <div className="space-y-3 text-gray-100"> <div className="flex items-start"> <span className="font-mono bg-black/30 px-2 py-1 rounded mr-3">1.</span> <span>Make sure Ollama is running on <code className="bg-black/30 px-2 py-1 rounded">localhost:11431</code></span> </div> <div className="flex items-start"> <span className="font-mono bg-black/30 px-2 py-1 rounded mr-3">2.</span> <span>Pull the model: <code className="bg-black/30 px-2 py-1 rounded">ollama pull qwen2.5:3b</code></span> </div> <div className="flex items-start"> <span className="font-mono bg-black/30 px-2 py-1 rounded mr-3">3.</span> <span>Run: <code className="bg-black/30 px-2 py-1 rounded">mvn spring-boot:run</code></span> </div> <div className="flex items-start"> <span className="font-mono bg-black/30 px-2 py-1 rounded mr-3">4.</span> <span>Test: <code className="bg-black/30 px-2 py-1 rounded">http://localhost:8080/chat?message=Tell me about the calendar</code></span> </div> </div> </div> {/* Project Structure */} <div className="bg-gray-800/50 backdrop-blur-sm rounded-xl p-6 border border-gray-700"> <h2 className="text-2xl font-bold mb-4 text-cyan-400">📁 Project Structure</h2> <pre className="bg-black/50 p-4 rounded-lg text-sm text-gray-300 overflow-x-auto"> {`spring-ai-chat/ ├── src/ │ ├── main/ │ │ ├── java/ │ │ │ └── com/ │ │ │ └── example/ │ │ │ ├── SpringAiChatApplication.java │ │ │ ├── config/ │ │ │ │ └── ChatClientConfig.java │ │ │ └── controller/ │ │ │ └── ChatController.java │ │ └── resources/ │ │ └── application.properties │ └── test/ └── pom.xml`} </pre> </div> </div> <div className="mt-12 text-center text-gray-400 text-sm"> <p>Built with Spring Boot 3.2.0 and Spring AI 1.0.0</p> </div> </div> </div> ); }; export default SpringAIApp; Then I create an empty project directory, copy generated file to it and moved to Cline with such a prompt.
...